Brainstorm Security Shop

For Orders Over $199

On Any Of Our Products

Details On Refund Page
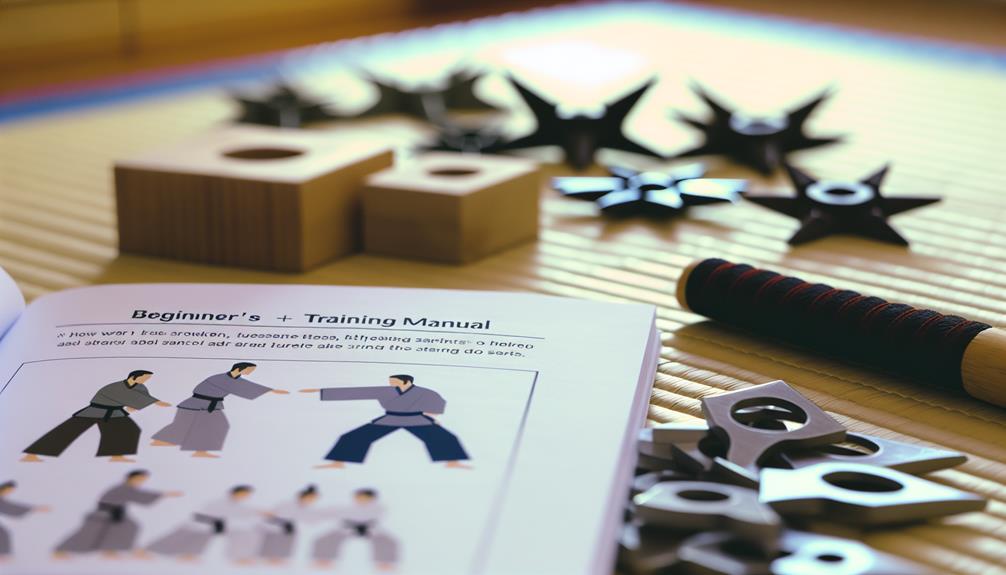
Have you ever wondered about the art of throwing stars? The “Throwing Stars With Training Guide” isn’t just about learning to hit a target; it’s a dive into the disciplined practice rooted in rich history. As you explore the different techniques and the correct form, you’ll find safety tips that are crucial for your protection. It’s essential to understand the dynamics of grip and rotation—these fundamentals will transform your skillset. But how do you progress from basic throws to more advanced techniques, and what might be the unexpected benefits of mastering this ancient craft? Let’s explore what makes this practice increasingly popular in the modern world.
Throughout history, throwing stars, also known as shuriken, have held a significant place in the arsenal of Japanese ninjas. Originating from ancient Japan, these weapons aren’t just tools of war but carry profound cultural significance. They emerged primarily during the feudal era, cleverly designed for stealth and concealment rather than direct confrontation.
As you delve deeper into their history, you’ll find that shuriken weren’t only instruments of battle but also of survival. Ninja used them to distract or disable their opponents discreetly. The art of using throwing stars, known as shurikenjutsu, was a guarded secret, passed down through generations, shrouded in mystery and intrigue. This secretive nature has painted the shuriken as a symbol of the cunning and resourcefulness that ninja are renowned for.
Their ancient origins tie closely with the aspects of warfare and espionage in feudal Japan, reflecting the era’s complex social and military fabric.
Today, the shuriken stands not just as a reminder of lethal weaponry, but as a cultural icon that reflects the ingenuity and tactics of the ninjas who once wielded them. Each piece holds stories of silent scouts in the shadows, embodying a fascinating part of martial arts history.
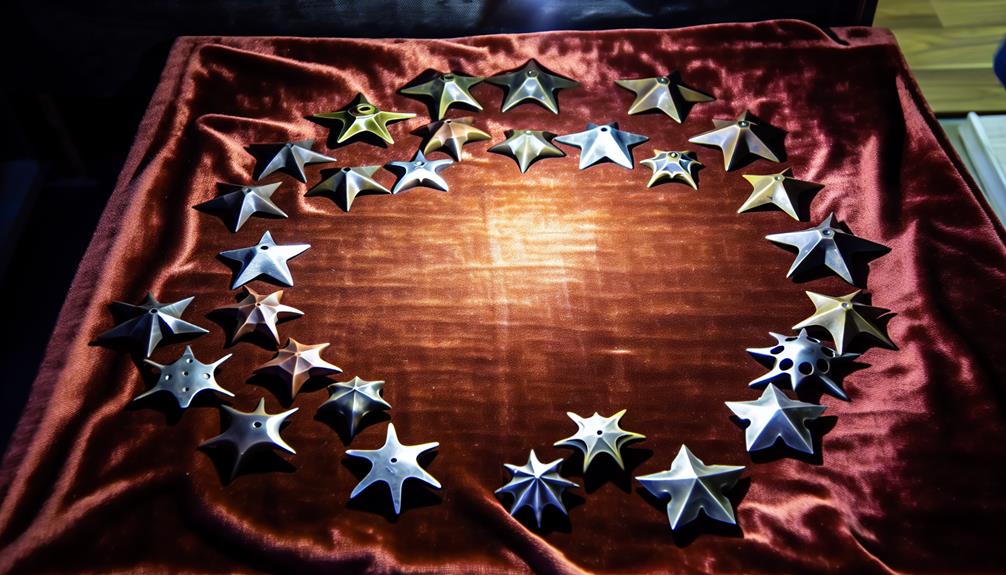
Understanding the diverse types of throwing stars reveals even more about their tactical utility and design sophistication. Originating from the ninja warriors of feudal Japan, these weapons, known as shuriken, come in various forms. Each design reflects specific ninja origins, where practicality in silence and surprise was paramount.
You’ll find the most common types include the four-pointed shuriken and the more intricate eight-pointed stars. The design of these stars isn’t just about aesthetics; it directly impacts their aerodynamics and the required throwing techniques.
For instance, a lighter, six-pointed star might be easier to conceal and throw quickly, but it’ll have a different flight pattern compared to a heavier, four-pointed one.
When you’re considering using these in a competition, it’s essential to understand the rules that govern such events. Most competitions have strict guidelines on the size and type of stars permissible.
Moreover, you should always check the weapon legality in your area, as some regions have specific restrictions or outright bans on carrying and using throwing stars.

As you progress in your throwing stars training, it’s crucial to prioritize safety above all.
You’ll need to master proper handling techniques, invest in the right protective gear, and always practice in a controlled environment.
These steps will help you avoid injuries and enhance your skills safely.
Before you start training with throwing stars, it’s crucial to master their safe handling to prevent injuries.
As you dive into throwing mechanics and precision targeting, remember that the way you handle the stars directly influences your accuracy and safety.
Here’s a straightforward guide to get you on the right path:
When practicing with throwing stars, wearing the right protective gear is essential to ensure your safety.
You’ll want to start with protective gloves designed with impact resistance to safeguard your hands from accidental cuts or punctures. Safety goggles are a must to protect your eyes from any stray pieces that might rebound during practice.
Don’t overlook the importance of a padded vest; it provides critical torso protection from misdirected throws.
For lower body safety, knee protection and elbow guards are crucial. They help prevent bruising or more severe injuries during dynamic movements or falls. Make sure these items meet established safety standards to ensure maximum protection.
Choosing the right footwear is equally vital. Opt for shoes that offer stability and grip to maintain your balance and prevent slips.
On the ground, training mats can provide a safer surface, reducing the risk of injuries when you’re moving around or retrieving your stars.
Lastly, consider wearing a protective helmet, especially when you’re a beginner or practicing more advanced techniques.
It’s better to be overly cautious as you hone your skills. Each piece of your gear should work together to keep you safe while you focus on mastering the art of throwing stars.

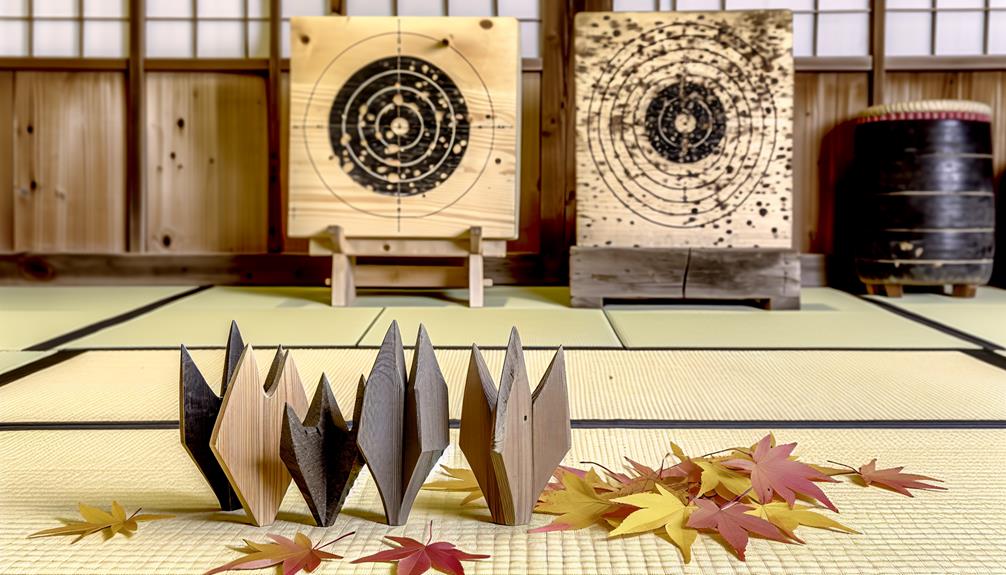
After outfitting yourself with the proper safety gear, it’s vital to choose the right setting for practicing with throwing stars. The ideal environment minimizes risks and maximizes your ability to focus and learn.
Consider both target selection and environmental factors when setting up your practice area. Here’s what you need to keep in mind:
Mastering a few basic grip techniques can significantly enhance your accuracy and control when throwing stars. The key elements to focus on are grip pressure and finger placement.
Grip pressure is crucial; you’ve got to hold the star firmly enough to maintain control but gently enough to allow a smooth release. Imagine holding a small bird—not too tight to harm it, but not too loose to let it fly away prematurely.
For finger placement, experiment to find what feels most natural for you. Most commonly, you’ll use your thumb and first two fingers.
Place your thumb on one point of the star with your index and middle fingers opposite, forming a sort of tripod grip. This setup provides stability and helps in directing the star accurately.
Now that you’ve got the basic grip down, it’s time to enhance your technique by perfecting your grip and achieving the ideal rotation.
You’ll find that a well-mastered grip is crucial for controlling the throw and ensuring your star spins effectively towards the target.
Focusing on these aspects will significantly improve your accuracy and the overall effectiveness of each throw.
Before you can master the art of throwing stars, it’s crucial to perfect your grip. The way you hold your star defines the precision and power of your throw. Here’s how you can enhance your grip strength and optimize finger placement:
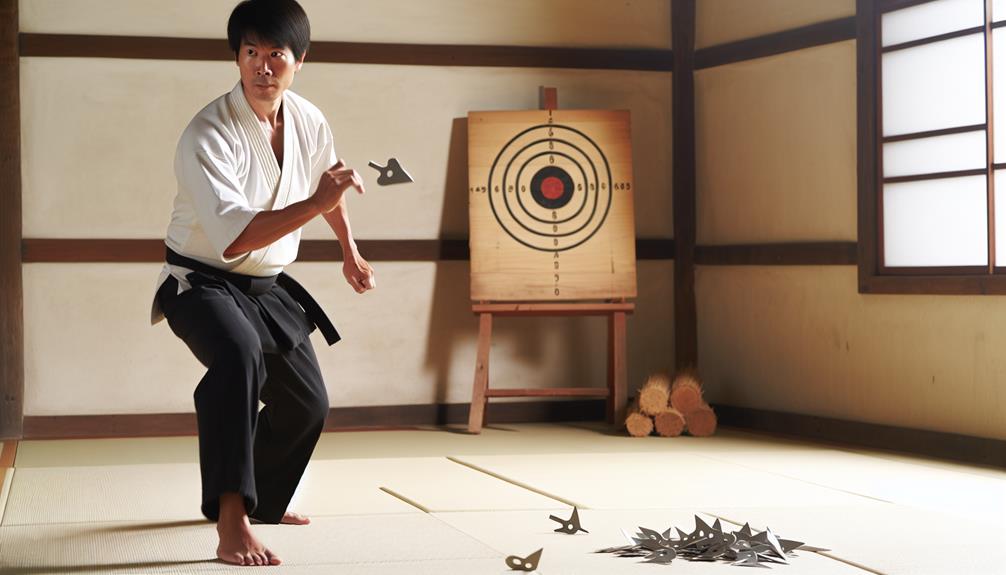
Having perfected your grip, you’ll next want to focus on achieving the ideal rotation when throwing your star. This step is crucial in mastering the throw and ensuring your star follows the ideal trajectory towards the target. The rotational dynamics of the star are affected by how smoothly and consistently you release it.
Here’s a quick guide to help you understand the phases of achieving the perfect rotational motion:
| Phase | Focus Point | Outcome |
|---|---|---|
| Wrist Motion | Smooth flick | Initiates rotation |
| Release Point | Consistent spot | Stabilizes trajectory |
| Follow Through | Complete arm motion | Enhances accuracy |
| Practice | Repetitive throws | Ensures muscle memory |
When you’re practicing, think about these phases as interconnected steps that build upon each other. Start by focusing on a smooth wrist motion. You don’t want to jerk your hand; it’s about a fluid flick that starts the rotation. Ensure you release the star at a consistent point each time—this consistency is what stabilizes the star’s trajectory. Always complete your arm motion in the follow-through; it’s vital for enhancing the accuracy of your throw. Lastly, remember that practice makes perfect. The more you throw, the better your muscle memory and your understanding of rotational dynamics will become.
To master the art of throwing stars, you’ll need to engage in specific training drills and exercises designed to enhance your precision and control. Developing your throwing techniques and improving your target accuracy are crucial steps in becoming proficient.
Here are some essential drills to integrate into your routine:
Each session should end with a review of your technique to solidify what you’ve learned.
Proper maintenance and care of your throwing stars ensure they remain effective and safe to use. Regular cleaning and suitable storage are vital to prolonging the life and performance of your equipment. Let’s dive into some essential tips.
Firstly, you’ll need to adopt some effective cleaning techniques. After each use, wipe down your throwing stars with a dry, soft cloth to remove fingerprints and debris. For a deeper clean, use a cloth dampened with a bit of soapy water, followed by a dry cloth to prevent rusting. Avoid abrasive materials that could scratch the metal surface.
For storage solutions, it’s crucial to keep your throwing stars in a dry environment to prevent corrosion. A dedicated weapon case lined with soft fabric will protect them from moisture and physical damage. Here’s a handy table to summarize the care steps:
| Step | Action | Frequency |
|---|---|---|
| Basic Cleaning | Wipe with a dry, soft cloth | After each use |
| Deep Cleaning | Wash with soapy water, then dry | Monthly |
| Inspection | Check for damages or rust | Before each use |
| Storage | Store in a dry, lined weapon case | After cleaning |
Now that your throwing stars are well-maintained, you’re set to enhance your skills further. Advancing in this art is all about skill progression and technique refinement.
Let’s dive deeper into how you can elevate your throwing techniques to expert levels.
To truly excel, consider these key areas:

Yes, you can use throwing stars for self-defense, but their effectiveness largely depends on your skill level and training techniques.
They’re not the most practical choice compared to other self-defense tools that are easier to handle and more reliable under stress.
You’d need considerable practice to use them effectively in a real-world scenario.
It’s crucial to train consistently and understand the limitations and legalities of using throwing stars in your area.
You’re wondering if throwing stars are legal in your state, but it really depends on local throwing star regulations and state laws.
These laws can vary widely, so you’ll need to check your specific state’s legislation.
Don’t assume they’re allowed just because they’re available for purchase.
It’s best to look up the most current legal framework or consult with a legal expert to ensure you’re not inadvertently breaking the law.
When considering the ideal age to start training, it’s crucial to prioritize safety precautions and proper training techniques.
You’ll want to ensure that maturity and responsibility are factored in, typically around the age of 12 or older. At this age, you can better grasp the discipline and focus required.
Always ensure supervision and expert guidance to maintain safety and effectively learn the skills needed for responsible handling.
You’re looking at spending between $20 to $100 for professional-grade throwing stars, depending on material quality and brand.
Higher-end models, crafted with superior metals, enhance durability and balance, crucial for mastering throwing techniques.
Remember, you get what you pay for with these tools, so consider investing a bit more if you’re serious about advancing your skills.
Shop around and read reviews to find the best match for your needs.
Yes, throwing stars can be used in competitive sports, specifically in martial arts tournaments that feature weapon-based disciplines.
You’ll find events that test precision and skill in throwing techniques. To compete, you’ll need to master various techniques, adhere to safety regulations, and use stars designed for competition.
These events not only showcase talent but also respect the traditional martial arts culture surrounding the use of throwing stars.
You’ve explored the rich history and various types of throwing stars, grasping essential safety tips along the way. By mastering basic grips and perfecting your throw, you’re well on your way to proficiency. Regular training drills will sharpen your skills, and proper maintenance ensures your gear lasts. Keep pushing, refine your techniques, and always prioritize safety. With dedication and practice, you’ll continually advance, embracing the art of shurikenjutsu with confidence and skill.
